Walking through a home right before closing can feel like a final exam. One missed crack or a leaky faucet can turn joy into costly repairs. Here’s a step‑by‑step guide that shows exactly what to look for, how to test systems, and how to record any concerns.
Step 1: Prepare Before You Walk Through
The final walkthrough is your last chance to verify that the property matches the contract. Review the purchase agreement and any repair addenda so you know what should be in place. Schedule the visit with the seller’s agent and make sure utilities are turned on; you can’t test a furnace that isn’t getting power. Bring a notebook, a smartphone for photos, and a copy of the original home‑inspection report. If you’re unsure what counts as a repair, Your Final Walkthrough Success Guide walks you through the most common items.
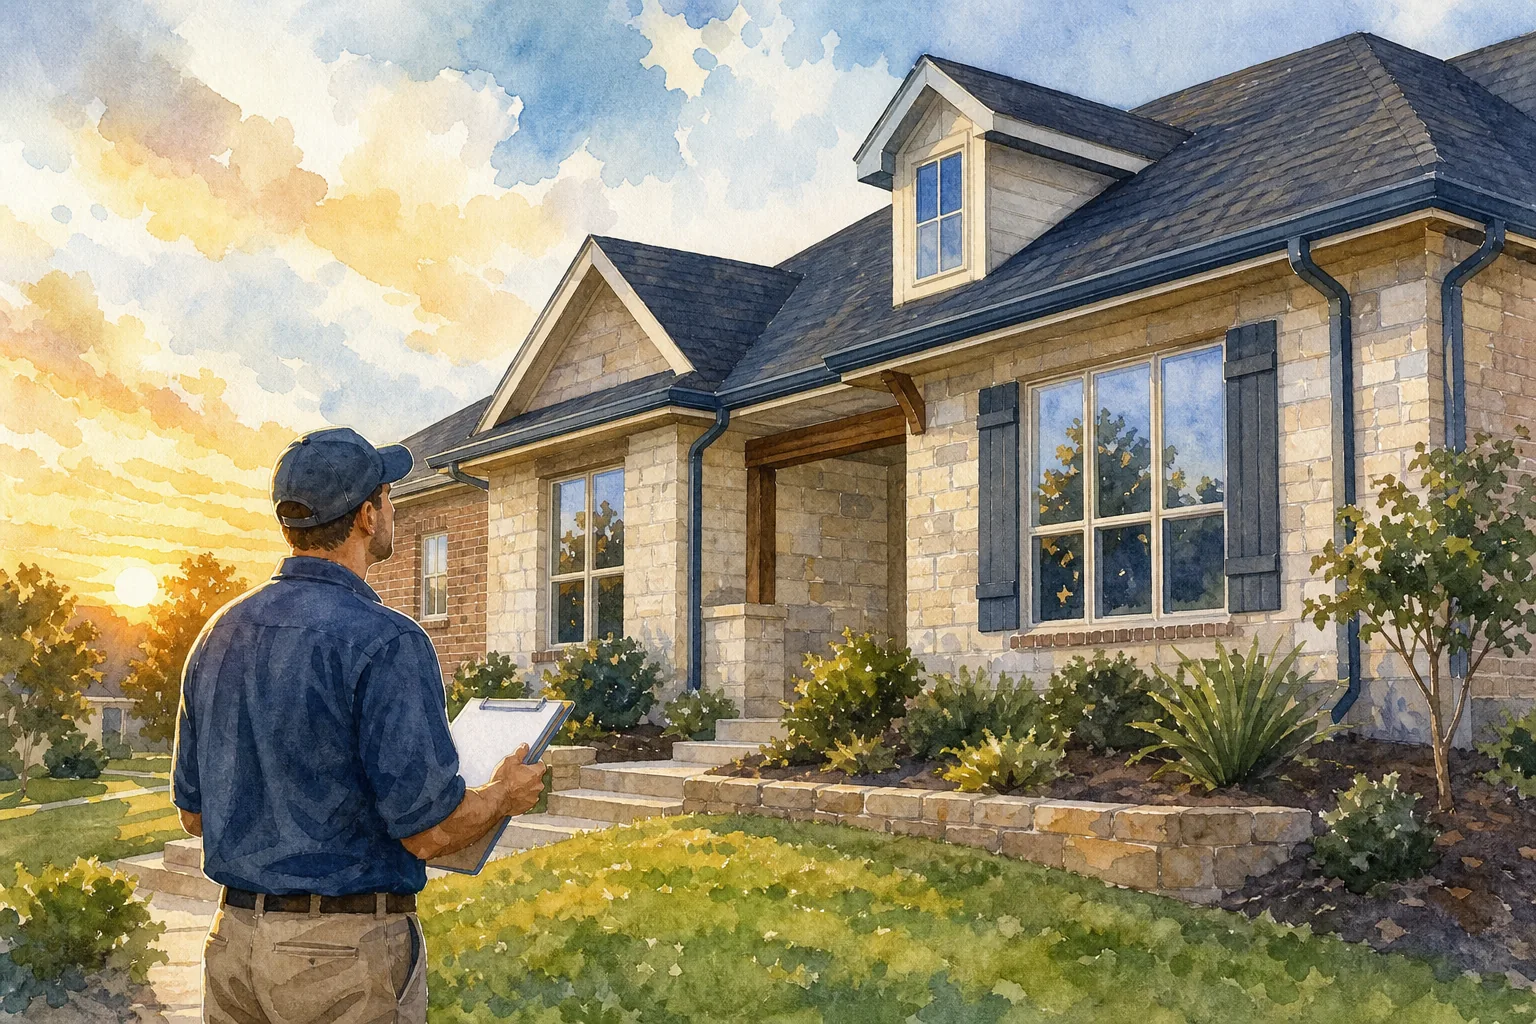
Before you step inside, walk around the entire lot. Look for new damage that could have happened after the last inspection, hail dents, fresh cracks, or standing water. Knowing the exact condition of the exterior helps you focus your indoor time where it matters most.
Step 2: Start Outside With the Lot, Drainage, and Exterior
Good drainage is the first line of defense against foundation problems. The ground should slope away from the house. Residential building code generally calls for about 6 inches of fall over the first 10 feet from the foundation. Check for low spots, swales, or standing water near the foundation after a rain. If the home sits in a flood‑plain, confirm that the finished‑floor elevation meets applicable requirements.
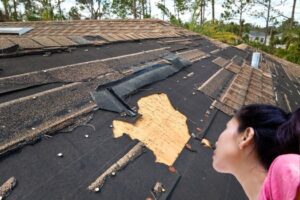
Next, inspect the roof from ground level. Missing or lifted shingles, damaged flashing, and clogged gutters are all red flags. Look for signs of wear and ask about the roof’s age and recent repairs. Roof information can help you consider its condition.
Open and close every exterior door and window. They should latch cleanly, seal without gaps, and glide without sticking. Fogged glass often means a broken seal, which can let moisture into the frame.
Finally, take a quick look at the garage door opener and safety sensors. A malfunctioning opener can become a safety issue once you move in.
Step 3: Walk Room by Room and Check Visible Systems
Start at the front door and move methodically through each space. If you’re still comparing properties rather than checking one before closing, the same room-by-room approach in my open-house checklist can help you spot items to investigate. In every room, look for cracks in walls, ceilings, or floors. Foundation cracks can indicate serious structural issues; ask an inspector to evaluate them.
Test every light switch and outlet. Flip the switch, feel for warmth, and make sure the outlet powers a lamp or phone charger. Look for ungrounded outlets or an outdated electrical panel.
Run hot and cold water at each faucet. Watch how quickly the water drains; slow drainage can point to hidden clogs or pipe corrosion. Check under sinks for drips or water stains, a tiny leak today can become a flood tomorrow.
While you’re in the kitchen, turn on the range‑hood fan and the dishwasher. Listen for unusual noises and make sure the dishwasher completes a short cycle without leaking.
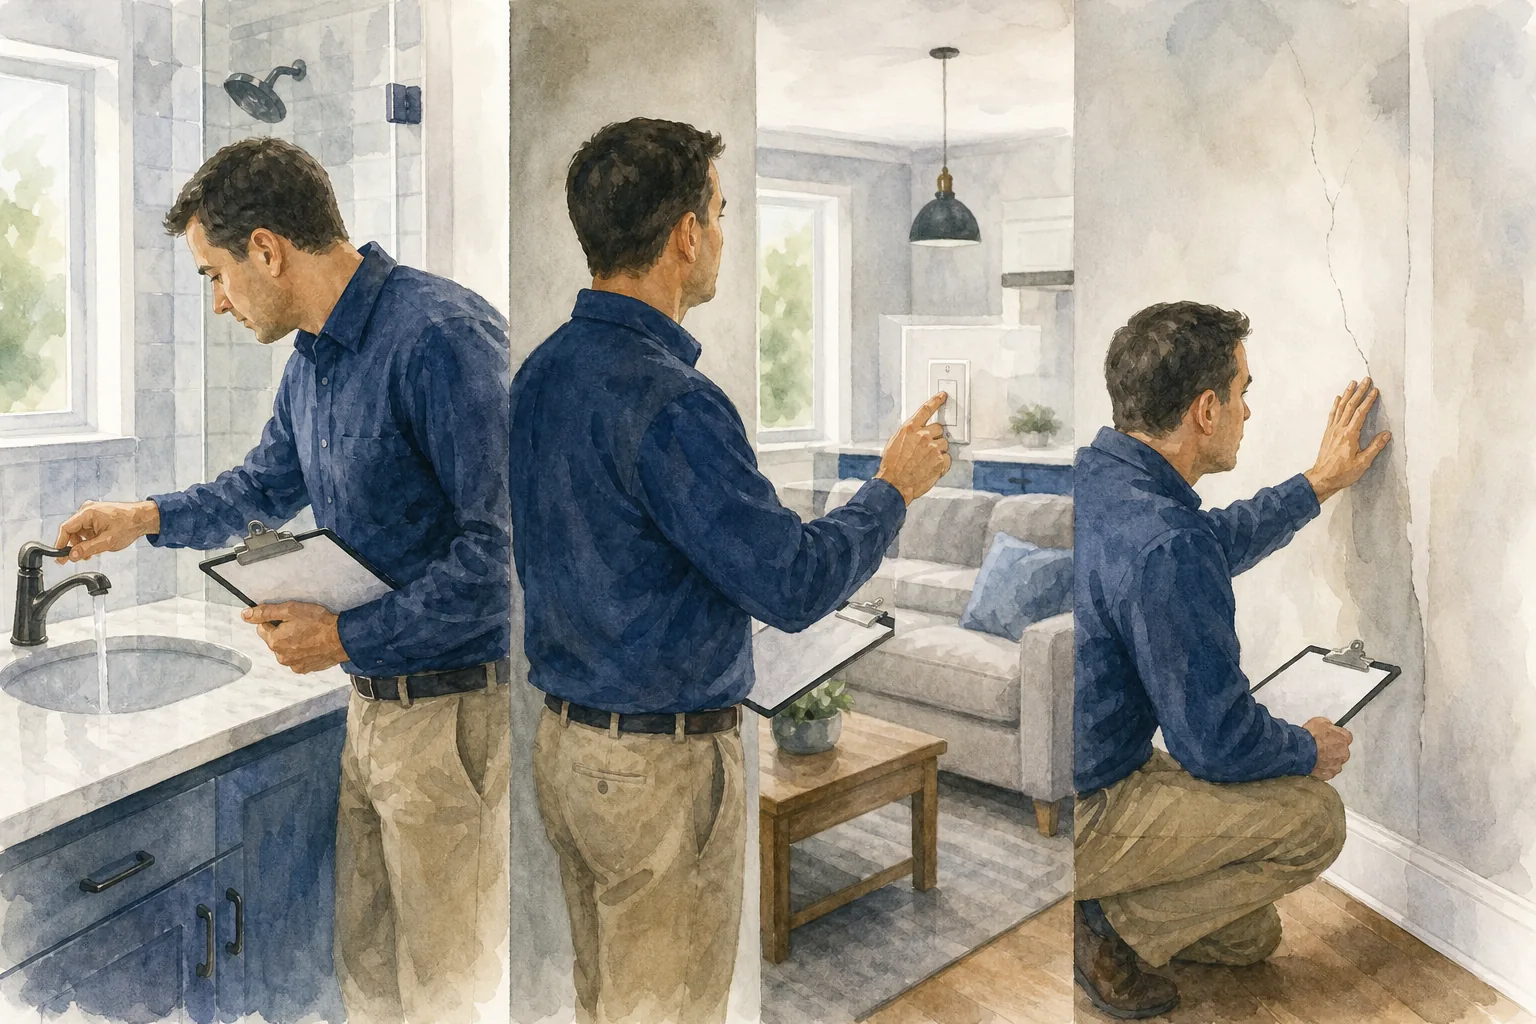
In the bathroom, flush every toilet and run the shower. Look for water pooling on the floor or around the tub base, that often signals a seal problem.
Step 4: Test Fixtures, Doors, Windows, and Included Items
All built‑in appliances and fixtures listed in the contract should be operational. Run the oven, stovetop, and microwave for a minute each. Verify that the dishwasher’s spray arm moves freely. If a washer or dryer is included, spin a quick cycle to check for vibrations.
Check door hardware. Locks should engage smoothly, and deadbolts should turn without resistance. Window tracks should glide without binding; any difficulty may require adjustment.
Make sure any items that were part of the sale, such as ceiling fans, a built‑in grill, or a security system, are still present and functional. If a promised fixture is missing, note it right away.
Step 5: Document Concerns and Decide What Needs Follow‑Up
Take clear photos of every issue you spot. A photo of a cracked wall, a leaking faucet, or a damaged roof shingle is more persuasive than a note alone. Write a brief description next to each photo, noting the location and why it matters.
Prioritize the items. Safety‑related problems (electrical, gas, structural) go first. Then address functional issues (non‑working appliances). Cosmetic concerns (paint chips, minor scratches) can be negotiated later or left for you to fix after closing. For issues that need a repair request after the inspection, my guide to negotiating repairs after a home inspection in Texas explains how to prioritize and discuss them.
Share the photo log with your REALTOR. If I’m representing you, I’ll use it to help you draft a repair request or ask the seller for a credit. If a repair requires a licensed professional, ask for proof of completion before you sign the final paperwork.
When you’ve collected all the data, compare it to the repair addendum in your contract. Anything that doesn’t match should be flagged for the seller to fix or credit.
Frequently Asked Questions
What is the purpose of a final walkthrough?
The purpose is to confirm that the home’s condition matches the contract and that any agreed‑upon repairs are completed before you close.
How far in advance should I schedule the walkthrough?
Schedule it as close to closing as possible, typically 24‑48 hours, so there’s little time for new damage to occur but enough time to address any issues.
Do I need to bring the original inspection report?
Yes, having the original report lets you compare current conditions with what the inspector noted, making it easier to spot new problems.
What if I find a problem after I’ve signed the contract?
If the issue is a breach of the repair addendum, you can request a repair credit or ask the seller to fix it before closing; otherwise, you may need to negotiate a post‑closing repair agreement.
Can I do the walkthrough myself, or should I hire a professional?
You can do a basic walkthrough yourself, but a licensed inspector can catch hidden hazards like structural deficiencies, mold, or faulty wiring that are hard to see.
Should I test the HVAC system during the walkthrough?
Yes. Turn on heating and cooling, check that the thermostat responds, and listen for odd noises. A malfunctioning system can be a major expense.
If you want a smooth closing, follow these steps, document everything, and lean on your REALTOR for any follow‑up. If you have questions about your own walkthrough, I’m always happy to talk it through with you.
Robbie English, REALTOR, Broker at Uncommon Realty