Got the keys to a brand‑new Austin home? Great. Before you move in, you need a clear picture of what’s really behind those fresh walls. That’s where independent inspections step in, and I’ll walk you through every stage.
An analysis of 63 YouTube comments about new construction home inspections found that 16% mentioned code compliance items.
We’ll cover why an outside eye matters, when each inspection takes place, the defects that commonly pop up in Central Texas, and how to make the builder’s blue‑tape walk work for you.
Too Long; Didn’t Read
- A new home can still have defects, so an independent inspector is worth hiring.
- Plan a pre-pour check, a pre-drywall inspection, a final inspection before closing, and a one-year warranty inspection.
- In the Austin area, watch for signs of foundation movement in our clay soil, missing GFCI protection, HVAC setup issues, and roof flashing.
- Bring your inspector’s report to the builder’s blue-tape walk and get every item on a signed punch list.
- Follow up in writing with photos and a completion date for each repair.
Why New Construction Still Needs an Independent Inspection
Even a brand‑new house can hide problems. Builders juggle dozens of crews, and a missed nail or a mis‑routed pipe can slip through the cracks. Foundation cracks, HVAC setup errors and plumbing mistakes can all show up in a house nobody has lived in yet.
An independent inspector works for you, not the builder. A builder’s internal walk‑through is meant to keep the schedule on track, not to catch every detail that could affect your comfort or resale value. An outside inspector documents issues while they’re still visible, giving you a record to point to before the builder’s crews seal the walls.
For a look at new construction in Leander, see this local guide.
When Inspections Happen: Foundation Through Final Walk‑Through
Most new‑build projects follow a series of checkpoints. The first visit occurs before any concrete is poured. At this stage, the inspector looks at the footing layout, reinforcement bars, and soil grading. In Central Texas, the expansive clay can shift, so confirming proper compaction early can save you from costly foundation repairs later.
Next comes the pre‑drywall or pre‑insulation inspection. The framing is exposed, so the inspector checks stud spacing, joist hangers, nail plates, and the routing of PEX water lines. Electrical boxes and HVAC ducts also get a once‑over. Catching a mis‑aligned stud now avoids tearing out drywall later.
Before you close, a final walk‑through evaluates the substantially completed home. The inspector runs water at all fixtures, flips every breaker, fires up the furnace and AC, and tests the smoke detectors. This is the moment to verify that the builder has addressed any punch‑list items from earlier visits.
Some buyers also schedule a one‑year warranty inspection. By then, the home has settled and everyday wear shows up. The inspector can flag issues that the builder is still obligated to fix under the warranty.
Planning these visits is easier with a seasoned pro. I often recommend a preparation checklist for homeowners who want to stay on top of the schedule.
Common Defects to Check, Including Austin‑Area Considerations
Even with a diligent builder, certain defects appear more often in the Austin market. The local clay soil can cause subtle foundation movement, leading to hairline cracks in interior walls. Look for uneven floors or doors that stick. Those are often signs of shifting.
Electrical work sometimes misses the required GFCI protection near sinks. Outlets within six feet of a bathtub or sink need GFCI protection under the electrical code. A quick test with a plug‑in tester can spot the issue before the breaker panel is sealed.
HVAC systems are another hot spot. An oversized breaker on the outdoor unit or a missing refrigerant line cap can cause the system to overheat in summer. I always ask the inspector to run the thermostat from low to high and listen for any odd noises.
Plumbing defects often hide behind walls. Loose pipe straps or improperly supported PEX can lead to leaks down the line. The inspector will look for proper clamps and ensure that any water‑shutoff valves are clearly labeled.
Finish‑level problems also matter. Gaps between baseboards and new LVP flooring are normal, but large gaps can let drafts in. Missing flashing around roof penetrations is a common cause of water intrusion during Austin’s heavy rains.
For a quick reference on what to look for during a walk‑through, see this home walkthrough guide.
The Builder’s Blue‑Tape Walk and What to Do With Findings
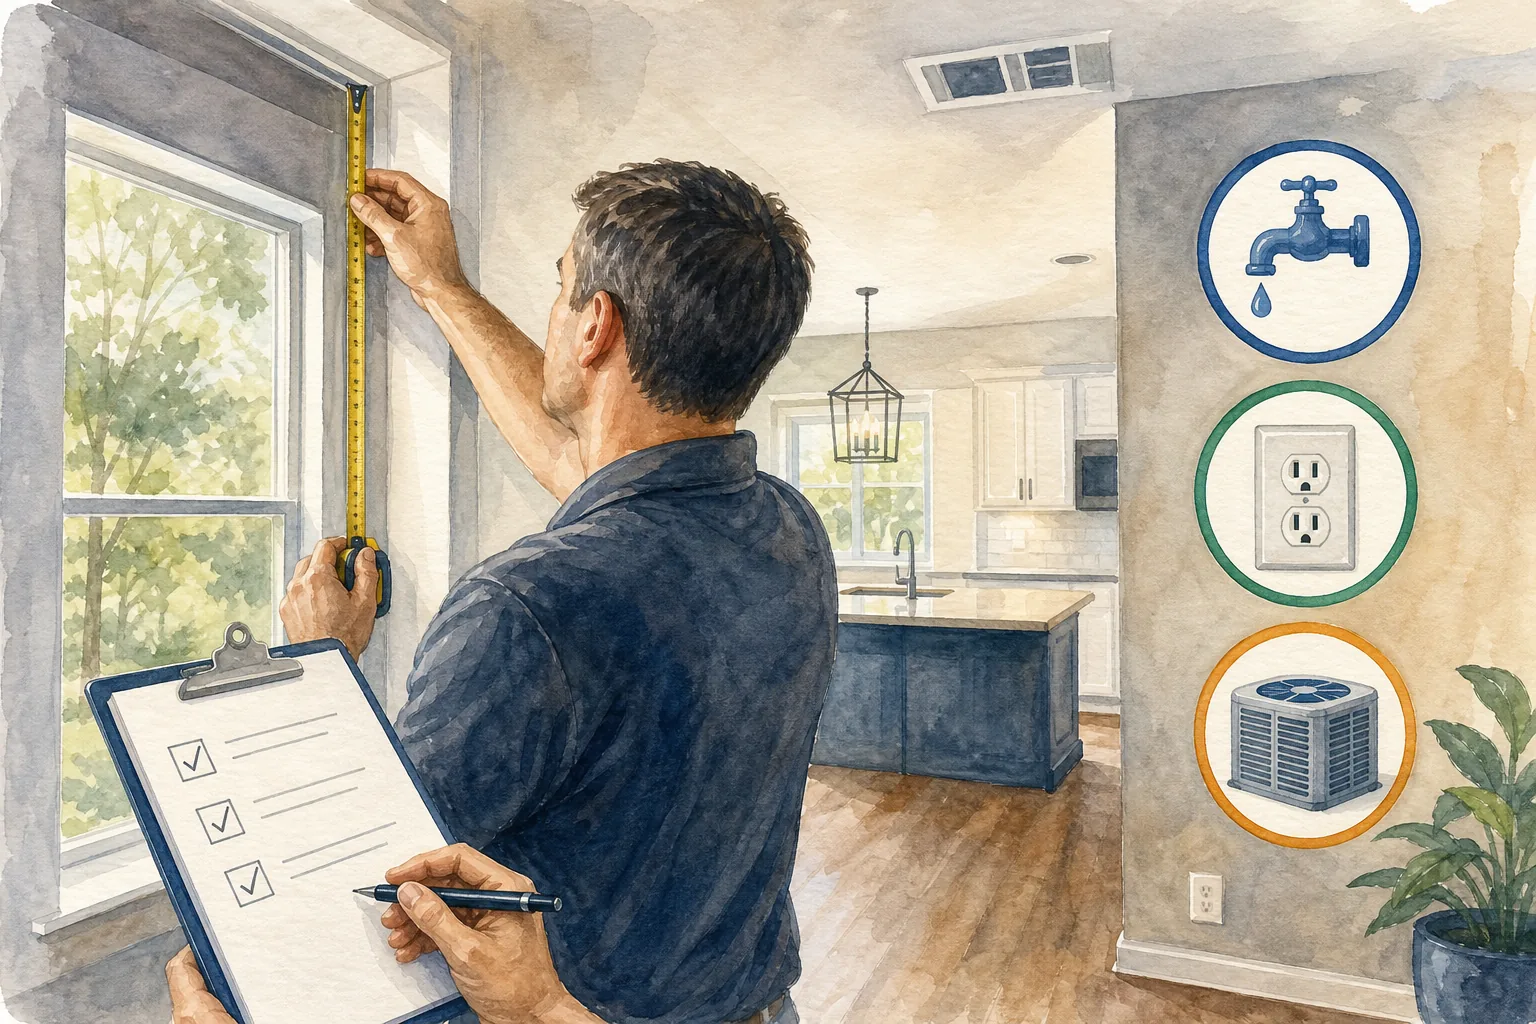
The blue‑tape walk (sometimes called a buyer orientation) happens in the last week or two before closing. The builder’s rep walks the empty home with you, pointing out how to shut off water, operate the HVAC, and reset the breaker panel. As you move through each room, you place a piece of blue tape next to anything that looks off: a scuffed wall, a mis‑aligned cabinet door, a loose light fixture.
When you finish, the builder signs a punch‑list that captures every item you marked. That signed document becomes your proof. If the builder fails to fix an item, you can request a repair credit or a delay in closing until the work is done.
It’s smart to bring a copy of the independent inspector’s report to the walk‑through. The inspector’s notes often highlight issues the builder might overlook, such as a missing bonding screw on a metal conduit or an unsealed roof vent. Cross‑referencing the two lists helps ensure nothing falls through the cracks.
After the walk‑through, follow up in writing. Email the builder’s representative, attach photos of each defect, and request a completion date. Keep your own copy of the punch‑list. It’s the paper trail you’ll need if you later have to involve a contractor or claim warranty coverage.
For more on repair discussions, see this repair guidance.
FAQ
Do I need an independent inspection if the builder already inspected the home?
Yes. A builder’s inspection focuses on meeting code and staying on schedule, not on catching every quality issue. An independent inspector provides an unbiased view and documentation you can use in negotiations.
What is the typical cost for a new‑construction inspection in Austin?
Costs vary by home size and scope. Additional services, like infrared scanning, may affect the overall price.
Can I attend the inspector’s walkthrough?
Absolutely. Being present lets you see issues firsthand, ask questions about system operation, and learn how to maintain your new home. Most inspectors welcome the buyer’s involvement.
How long does the blue‑tape walk usually take?
Typically one to two hours, depending on the home’s size and the number of items on the punch‑list. It’s worth the time because a thorough walk‑through catches problems before the builder’s crews finish.
What happens if the builder refuses to fix a listed defect?
You can ask for a repair credit or a delay in the closing date. Whether you can walk away depends on your contract, so talk to your agent or a real estate attorney first. Having a signed punch‑list and an independent inspection report strengthens your position.
Conclusion
Independent inspections give you a clear picture of a new build’s real condition, and the blue‑tape walk turns that picture into a concrete list of fixes. Schedule your inspections early, bring the reports to the builder’s walkthrough, and keep a signed punch‑list handy. Ready to move forward with confidence? Contact me, Robbie English, REALTOR, Broker, and let’s make sure your new Austin home is truly ready for you.