Thinking about staying in your home after you sell it? A leaseback agreement can give you the breathing room you need while keeping the deal on track. Below you’ll find the core paperwork, a checklist of terms, Texas‑specific legal resources, and a system for tracking payments and condition reports.
Too Long; Didn’t Read
- A leaseback lets the seller stay in the home for a set time after closing and pay the buyer rent.
- Put the end date and time, daily rent, deposit, and holdover terms in a written agreement.
- The buyer’s lender must approve the leaseback in writing, and many loans limit how long it can last.
- The seller needs renter’s insurance once title transfers, and the buyer insures the structure.
- Keep a move-out file with payments, photos, and the key handover record.
The Core Documents: Occupancy Agreement and Closing Paperwork
The backbone of any Texas leaseback is a written post-closing occupancy agreement. It should spell out the occupancy period, rent, deposit, and move-out timing. Because the buyer’s lender and title company both need proof of the arrangement, include the agreement in the closing package rather than leaving it in a side note.
First, the lease term. A written agreement can set a specific end date and even a time of day; “vacate by 5 p.m. on the 14th” avoids the classic midnight‑vs‑close‑of‑business dispute. Second, rent. Most buyers calculate a daily rate based on the buyer’s PITI (principal, interest, taxes, insurance) and add a $10‑$50 premium. That number shows up on the settlement statement and is paid at funding.
Third, the security deposit. A common practice is to collect one month’s PITI, hold it in escrow, and return it within 30 days after the seller hands over the keys in good condition. Fourth, insurance. The seller should swap homeowner’s coverage for a renter’s policy, because the buyer’s policy won’t cover the seller’s belongings once title transfers.
Finally, the holdover clause. If the seller stays past the agreed date, the lease can impose a per‑day penalty that looks like a hotel rate, often 150 % of the daily rent. That protects the buyer’s schedule and financing.
When I’m helping a client, I always loop three people into the conversation: the buyer’s lender, the title officer, and a Texas real‑estate attorney if the term stretches beyond 90 days or the property value is high. That trio catches most surprises before the closing table.
A written occupancy agreement can help clarify each line item for both buyer and seller.
A Leaseback Agreement Checklist: Terms to Review Before Signing
Before you sign anything, run through this checklist. It keeps the conversation focused and the paperwork airtight.
- Lease Length Verify the start date (usually closing day) and the exact end date. Remember that most lenders won’t approve a term longer than 60 days.
- Daily Rent Calculation Confirm whether the rent is the buyer’s PITI plus a premium, or a market‑rate figure. The amount should be reflected on the settlement statement.
- Security Deposit Agree on the amount, the escrow holder, and the conditions for return.
- Utilities and Maintenance Decide who pays electricity, water, lawn care, and routine repairs during the leaseback.
- Condition Report Attach a signed walkthrough checklist that notes the home’s state at closing and at move‑out.
- Insurance Coverage Make sure the seller has renter’s insurance and the buyer’s policy covers the structure.
- Holdover Penalties Spell out the per‑day fee if the seller overstays.
- Access Rights Define when the buyer can enter for inspections, contractor work, or showings.
If any of these items feel vague, ask for clarification before the closing date. A clear, written addendum prevents the “I thought we agreed on something else” moment that can derail a deal.
For buyers who need to sweeten their offer, a leaseback can be a low‑cost concession. For sellers, it buys time to finish a new home or coordinate movers. The key is to treat the leaseback as a short‑term rental, not a casual handshake.
Agree on a clear daily rent figure. A specific amount gives both parties something to review and agree on.
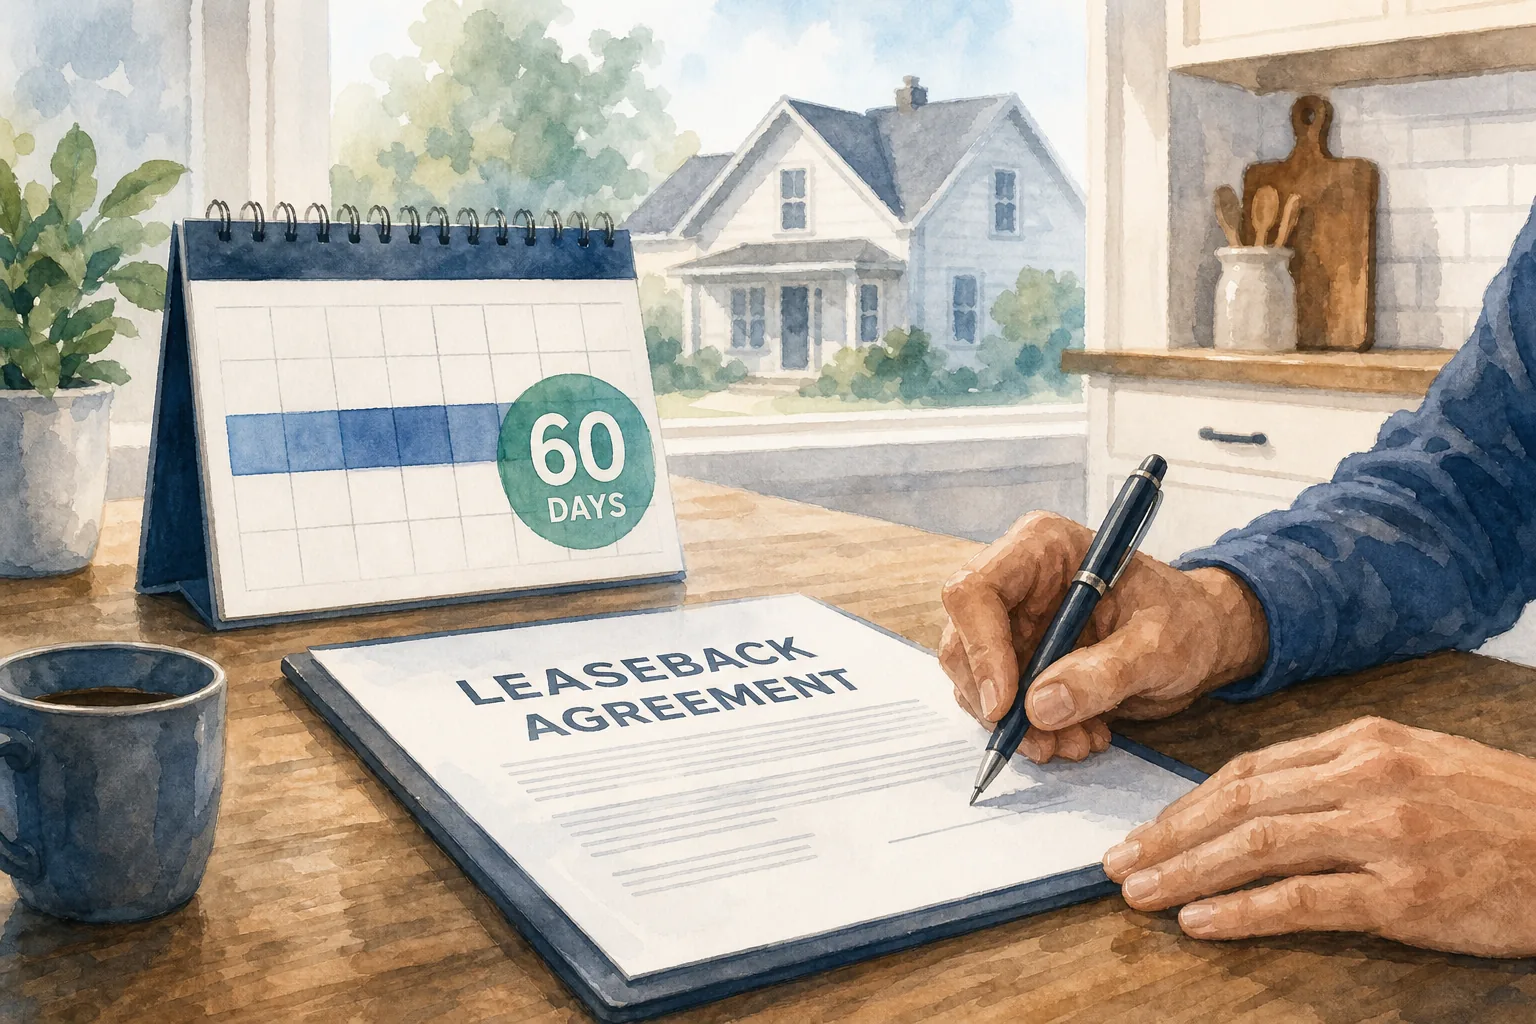
One more thing: the lender’s written approval is a must‑have. A verbal “should be fine” from a loan officer doesn’t hold up if the underwriter asks for proof later.
Need help fine‑tuning the terms? I can walk you through the numbers and make sure the addendum matches both parties’ expectations. For more on coordinating a sale and purchase, see this related article.
Texas Legal, Insurance, and Tax Resources to Check
A Texas leaseback can raise questions about the agreement, insurance, and taxes. Getting the right guidance before closing can help you understand your responsibilities and avoid last-minute back-and-forth.
Start by reviewing the written leaseback terms, including the occupancy period, rent, deposit, and move-out date. If you are unsure how the agreement applies to your situation or what to do if the seller does not move out as agreed, ask a qualified Texas real estate attorney.
Tax treatment can depend on the details of the transaction. Before deciding how to report rent or expenses, talk with a tax professional who can review your circumstances.
For insurance, contact your insurer before closing and explain that the seller will remain in the home temporarily. Ask what coverage applies during the occupancy period and whether any changes are needed.
If your loan has owner-occupancy requirements, review the terms with your lender before agreeing to a leaseback. Loan-program guidance may also be relevant, so confirm any requirements that apply to your loan.
A simple checklist can help you keep track of the agreement, insurance questions, tax questions, and lender requirements. Gathering those details early can make the due-diligence step feel less like a scavenger hunt.
Before signing, make sure the leaseback agreement clearly covers the occupancy period, payment terms, responsibilities, and move-out expectations. A Texas real estate professional or attorney can help you identify questions to resolve before closing.
Keep a Move‑Out File: Payments, Condition, and Key Records
After the leaseback ends, you’ll need proof that everything was settled. A well‑organized move‑out file does that.
- Payment Log Record each rent payment, security‑deposit receipt, and any holdover penalties. A simple spreadsheet with dates, amounts, and check numbers works.
- Condition Photos Take photos at closing and again at move‑out. Store them side by side in a folder labeled “Before” and “After.”
- Inspection Reports If the buyer’s inspector visits during the leaseback, keep the report and any agreed‑upon repair invoices.
- Insurance Documents Save the renter’s policy declaration page and the buyer’s homeowner policy endorsement that shows the property is covered.
- Key Transfer Record Note the exact time and method the keys changed hands. A brief email receipt works as proof.
Having these items in one place speeds up the escrow release of the security deposit and protects you if a dispute arises later.
One simple step: create a PDF “Move‑Out Dossier” that includes all the above items plus a signed statement from both parties confirming the property’s condition. The buyer’s title company can then close the file without chasing missing paperwork.

For more on how to structure the file, see this resource.
Frequently Asked Questions
What is a leaseback agreement in real estate?
A leaseback agreement lets the seller stay in the home after closing while the buyer becomes the landlord. The seller pays rent for a defined period, and the buyer holds title.
How long can a seller stay under a Texas leaseback?
The allowed term depends on the written agreement and any applicable loan requirements. A longer stay may bring additional landlord-tenant requirements.
Do I need renter’s insurance during a leaseback?
Yes. Once the seller no longer owns the home, the buyer’s homeowner policy stops covering the seller’s personal property. A renter’s policy fills that gap.
What happens if the seller doesn’t move out on time?
The lease should include a holdover penalty, often a daily rate higher than the regular rent. If the seller still refuses, the buyer may need to pursue the applicable legal process.
Conclusion
If you’re ready to add a leaseback to your transaction, run the checklist in Section 2 and gather the legal and tax resources listed in Section 3. Then create a move‑out file as described in Section 4. Need a hand reviewing the addendum? Reach out, and I’ll walk you through the details so the deal stays smooth and on schedule.
Robbie English, REALTOR, Broker at Uncommon Realty.